How to Get the Best Quality Audio Recording for Your Podcasts
The quality of your audio makes a huge difference when making videos, vlogs, or podcasts. It can make or break your projects. Poor audio can disappoint your audience and frustrate them.
As such, it is vital to ensure you have high-quality audio to engage and connect with audiences. Some people think simply turning a knob can solve audio-related problems, but that is not the case.
Recording clear and clean audio is not a simple task. There are many factors to consider to get the best quality audio. For example, using a top-tier microphone and sound recording environment can help capture great audio.
Besides that, here are a few more things, tips, and solutions you can use to get the best audio quality, so your podcasts, vlogs, and other projects stand out:
Tips for Recording/Capturing Clear and Superior Quality Audio
1. Find the Right Place to Record
Getting the best quality audio includes a nice place to record. Reduce any distracting and ambient noises in the room.
Also, check if your voice reflects into the microphone. Hard surfaces tend to bounce back sound. Soft covers, such as carpeted flooring, will help to absorb noises.
A smaller room is better for recording your audio. However, it is also crucial to find space that is free from the following:
- Open Windows
- Phones and other electronics
- Cars
- Furnaces
- Refrigerators
- Fans
Turning these appliances off will remedy your problem. When there is a consistent sound, it is easier to remove noises.
Other sources of sound can be external noise. These include:
- Noisy office/kitchen
- Street Traffic
- Weather
2. Control Your Recording Environment
Having control of your room can boost your audio quality. It is vital to develop a routine when recording. It will make your audio quality consistent.
- Use a microphone stand when using a desktop microphone. Measure the distance so that you have the same setup.
- Use the same room and computer settings and microphone set up.
- To avoid the popping p's that bother so many amateur recording sessions, use a screen.
It is essential to record the room in silence for a minute or two. Then, free space will be easier to notice any background noises. You will also check if any of your solutions worked.
3. Invest in the Right Microphone
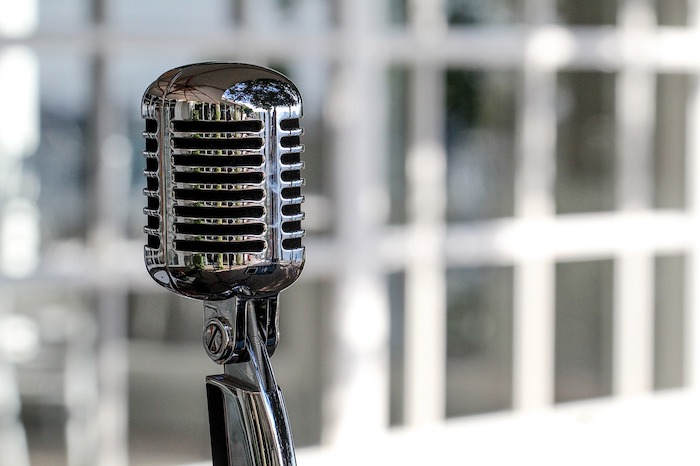
The type of microphone you have will decide your file's audio quality. Investing in a good microphone will ensure that you get the best audio.
Unfortunately, built-in microphones of computers or laptops are not the most reliable. These mics often get various sounds.
External mics can make a massive difference in recording your audio. However, choosing the right microphone for you can be confusing.
There are many things to consider buying one. Here are some things to think about when looking for one:
- Check if the microphone comes in a kit with a pop filter
- Check if the mic is self-standing or need extra support
- How will the mic connect to your recording device?
- What settings can you control?
If you do a lot of monologuing in your projects, a dynamic microphone is the right one for you. Other microphones can produce good sound, but they may demand more resources. ;It is recommended to get these dynamic mics:
- RE:20 - A popular microphone for radio stations
- Audio-Technica 2100 - A good USB mic that is affordable
If these microphones are out of your budget, you can use your headphone microphones. You can get good results with these mics. Make sure you position your headphone mic right to get the most out of it.
When it comes to how to get the best audio out of your microphone, small changes in your mic can make a huge difference. These three simple tips are cost-effective and do the trick:
- Use a pop filter
- Speak near your microphone
- Get a microphone stand
4. Get a Microphone Stand
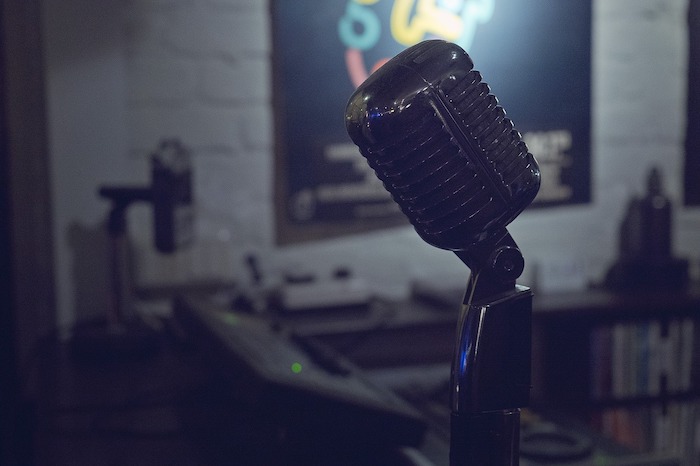
Holding your microphone is a terrible practice. It will make unnecessary noise that will distort your audio. The base of your microphone stand can also add unnecessary sounds.
If you are using a desk mount, connect it to a separate piece of furniture. Put some padding or carpet on the base if it is a floor mount.
Any static or small movement can mess up your recording. Therefore, it is best to patch up any distracting sounds.
5. Take a Sample Recording
A sample recording with your microphone will help cut any sounds or noises from the room. Record the room for at least 30 seconds. It should be enough to know what the room sounds like when quiet.
Recording a sample is always a good idea. It will let you know what issues are present. It comes in handy when you are trying to get clear audio. Re-recording is better than cleaning the audio by editing it.
Only use quality headphones when listening to the playback of the audio. Over the ear or in over headphone models are preferable. Using speakers will be challenging to check for subtle sounds. Headphones help you to listen to your audio better.
6. Have a Separate Track
If more than one person is speaking, it is best to get many tracks to record separate audio. Overlapping voices in one channel can sound unpleasant. In addition, the listener/viewer may feel like they are in a market rather than a podcast.
Pan the host to the left track and the guest on the right. It will create a studio vibe that will sound pleasant. Our technologies today allows us to do this in our setup. It was challenging to do this technique in the past. Only radio stations could do it.
There are many apps available on the internet to edit many tracks. Make sure to pick one that fits your needs.
7. Produce and Edit Your Content
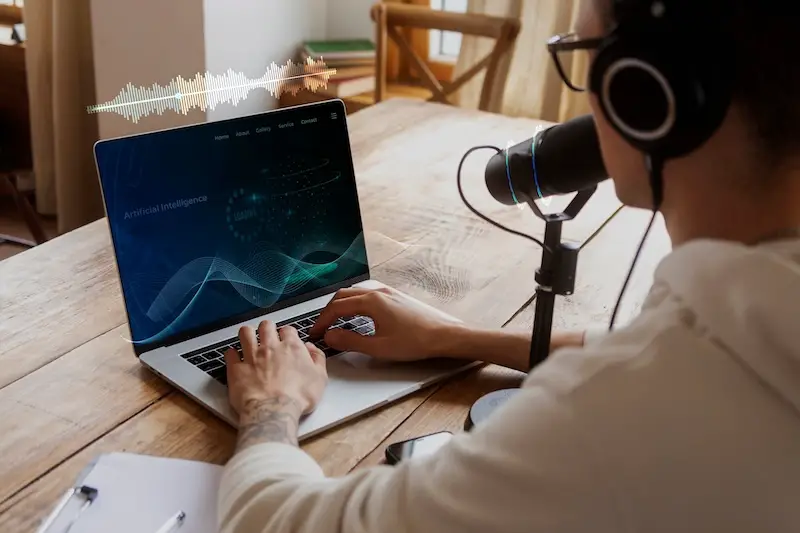
Editing and production finish the improvement of audio quality. Recording good audio is the first step to getting the best audio. Editing it can further improve its sound.
You can edit your audio yourself if you have enough experience with it. Otherwise, hire a professional. A audio producer's knowledge can assure a quality product. It will also help you avoid expensive mistakes.
If hiring someone is out of your budget, you can opt to get apps to help you. Like I said earlier, there are many apps on the internet that can help you with these issues. For example, you can check out Auphonic if you're producing your podcast.
Invest in the right equipment to cut distracting noises. Again, there are various tools for podcast and videos you can use for that. To give your audience an even better experience, transcribe your podcast, vlogs, and video shows. This way, your audience ;can watch your podcast videos and better understand your content.
Your high-quality audio recording deserves to be heard and appreciated by more audiences.


